Thursday, 30 October 2014

A kitchen update.

Working on the little kitchen yesterday was a real headache, literally. All the paints, stains and glues giving off fumes gave me quite a headache. 


I gave the cupboard doors and spice rack a coat of stain/varnish.


Cut out a counter top to fill in the empty corner and glued it together.

 Then using mod podge covered all 3 counter tops with paper from my scrap booking stash. 


Turning the timber tops into granite.


 I painted the inside of the oven black,


and the doors silver. 

 I might do the fridge doors in the silver too one day but for now it can stay red.


So this is where I am right now. I'm not going to glue anything down just yet. I think it's best to take a few photos first and see how it all works as a back drop. After all that's why it was built.

I'll play with it a little more today but I really need to start making some food.

Tomorrow I serve my first daily dish. :)

Wednesday, 29 October 2014

Setting myself a challenge.


I don't know why but I have had a lot of trouble getting things done on the Orchid. Every time I get it out I end up staring at it for ages but not getting much at all done. I know what I want it to look like, I have everything I need to get it done but I can't seem to get my butt into gear and do it. So time to walk away, at least for now. Try something a little different.

Rather than start another full size project I needed to come up with something else, something  To get me into my craft area creating daily. Then it hit me! A way to challenge myself on a daily basis, to have a new finished product every day. I'm going to make a different meal every day for a year!

The "dish a day" challenge starts on Saturday. It's New Year's Day in the Pagan calender, as good a day as any to get started. That gives me a couple of days to create a scene to photograph the finished pieces in. I have promised myself that even if the scene isn't completely done, the food will be served daily as of Saturday.

All of this hit me yesterday and This is what I've done so far....


 I dug out some kitchen furniture and started playing on the coffee table to see how it would look best. I really liked this arrangement but realised that it would't fit into the space I want to store it in. I have 3 other cube shelf thingys, like the one in the background here, in my craft area.  


 So I settled for this arrangement and started measuring out on the foam core, I chose foam core because it's light but fairly strong and because it's easy to cut, I don't have a lot of tools. (Walking Dead marathon on the tv. Minis and monsters, such a great combination for me.)


 I cut out 2 panels for each of the walls and the floor and glued them together using pva glue.


 One wall is slightly longer than the other so that I didn't end up with a gap in the corner. The measurements are: floor - 31x31cm.  wall 1- 22x31cm.  wall 2- 22x32cm. The foam core is 5mm thick.


 Lots of glue and lots of tape to hold it all together. Of course it was at the very beginning of this process that my dog, Piper, decided she really needed me to go outside and play with her. So while I am single handedly trying to fit it all together, keep it all square and hold it all together with bits of tape this is what I can see out of the corner of my eye......


 "I'll just keep staring at Mum until she can't take it any more. Any minute now she'll give in and take me outside and throw the ball for me. I call the technique Passive Nagging. It's very effective"


After the glue dried and the game of fetch was over I cut one more piece of foam core for the base for a bit of extra strength. (no I didn't use the scissors for this, they just happened to be there)


I want terracotta tiles so I chose a piece of card stock as close to the base colour as I could find in my stash and placed it in for a look.


 Hmmm???..


 Yep I think that will do it. 


I picked out a selection of browns, creams and gold. I also used acrylic medium to give a bit of texture to the finish.


 I used a stiff brush to dab all of the colours onto the card. I didn't use the word stipple because I tried a stippling brush last time I did this and it didn't work at all well. I found it better to use and old "shaggy" brush with stiff bristles. Did that make sense?


 Once the paint was dry I turned the sheet over and marked out 1" squares on the 
back and cut them out.


 Do they look like terracotta? 


 I used some strips of egg carton to cover the raw edges and covered the back with grey card. Even though I know this bit will never show in photos, a job worth doing etc..


All glued into place. At this stage I thought once the glue has dried I'll give it a couple of coats of mod podge and call it a night. Feeling quite pleased at the amount I had done. 

A glance at the clock....  3.30am!! The rest can wait till tomorrow, time to get some sleep.

Time flies when you're having fun. Think I got my mojo back. :)


Monday, 18 August 2014

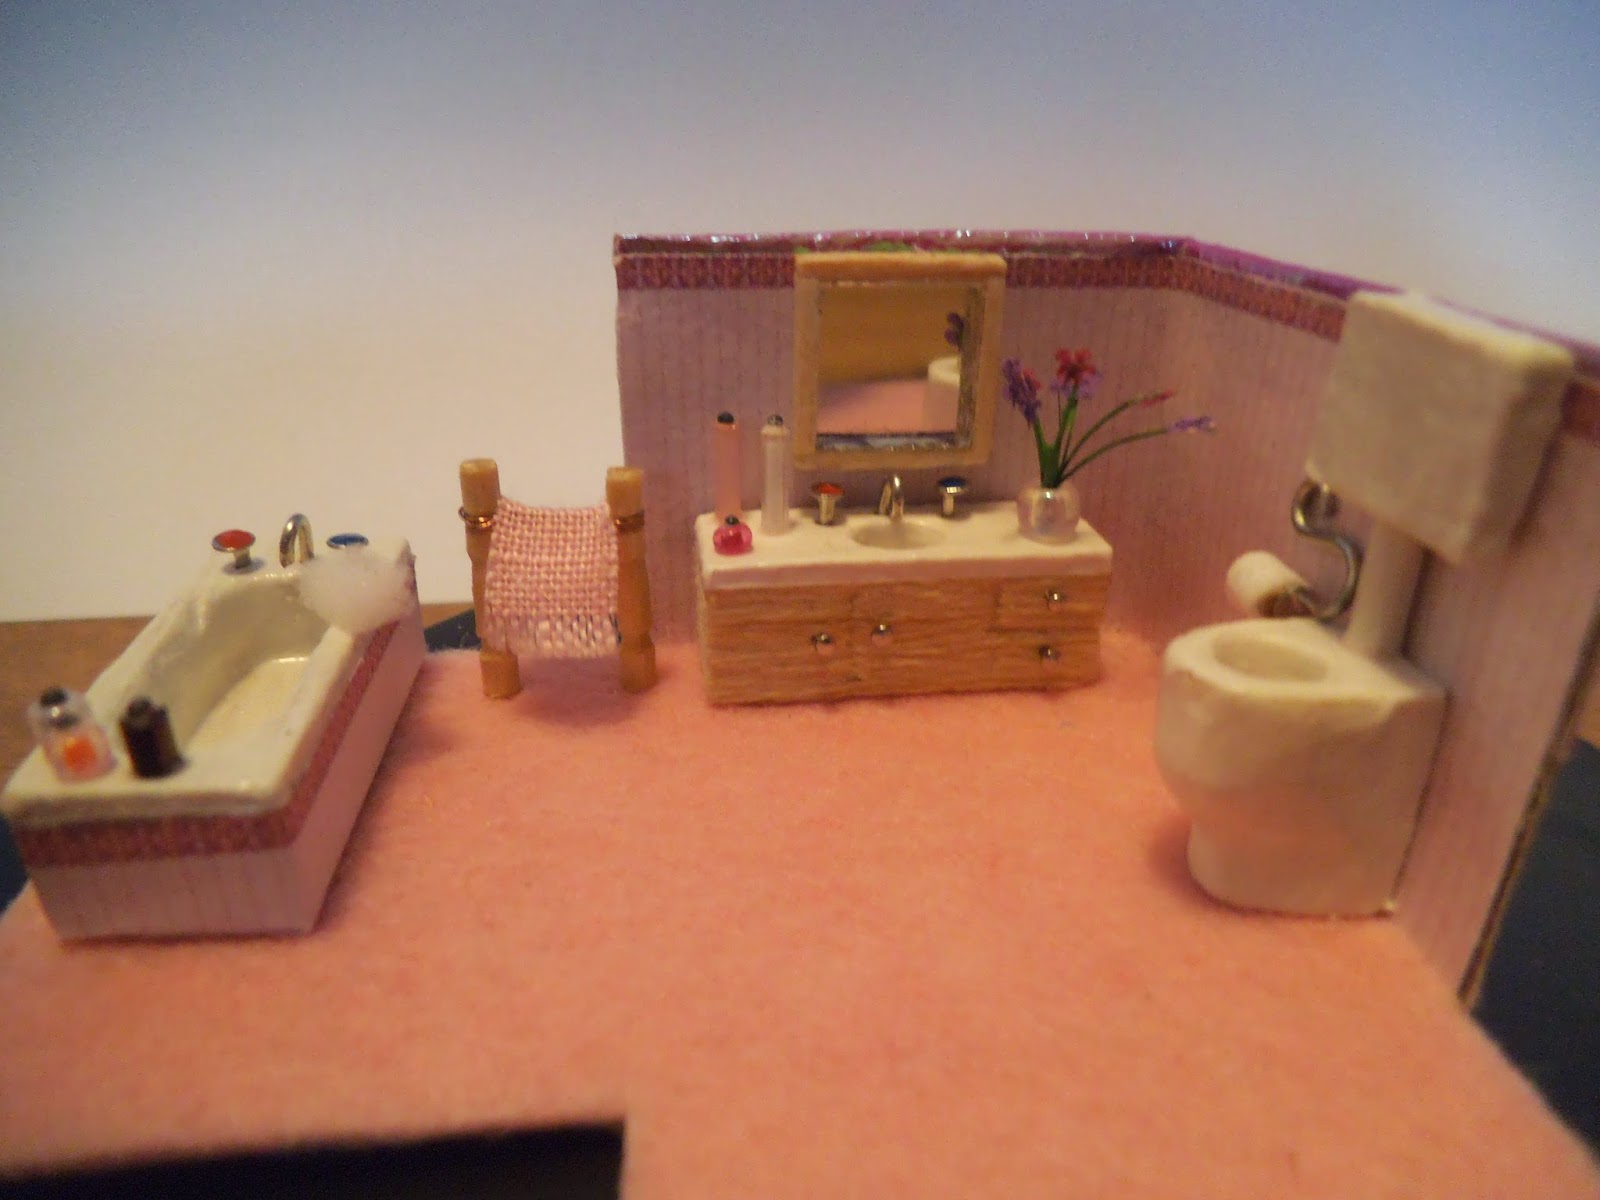
Just for fun I wanted to try my hand at a smaller scale, so why not throw myself in the deep end? I pulled apart a few cheap ring boxes and this is what I came up with.


A Bedroom.


A Bathroom.


A Kitchen.


I'm still working on the last one, a library but here is what I have so far.


Thanks for stopping by :)

Saturday, 2 August 2014

I'm Back

I just worked out that it has been 8 weeks since I last posted here. I've had plenty of ups and downs in the last 2 months and it just hasn't been possible.

The main thing being that I simply haven't had the means to be online. The computer I had been using died, it had been coughing and gasping for ages but it gave it's final breath shortly after my last post. I saved and bought a brand new one online that didn't work! It took a week to be delivered and another week for them to figure out that it didn't work once they had it back. When I got my money back I decided to go into an actual physical shop. 2 buses there, bought a computer, 2 buses home again, a whole day gone but better than waiting another week. Home at last and ready to start playing, open the box and the black laptop I'd bought was white! I called the shop and they said I could bring it back, they were really nice about it. It's only the wrong colour, it's the make and model that I asked for so I decided to keep it. I figured it could serve to remind me that little things really don't matter and there's no point in getting upset about them, all I need is a working pc so that I can get online and I have that now :)

I haven't done a lot on my latest build as the real world has been keeping me busy but hopefully I'll settle back into a routine again now and make time to get things done. Here's a few pictures to bring things up to date.


I wasn't sure how to go about fitting the window frames, should I glue them in place before I start the brick work or after? I thought at first I would be better off to mark out where they would go and start laying bricks but changed my mind a little while into it.


I added a strip of 3mm square dowel around the bottom and painted it hooker green.


I started laying the bricks  and then realised that some of the timber around the window makes up part of the window frame. So I stopped the brickwork and painted around the edges of the windows, pushed out all of the frames from their sheets, sanded and painted them. Trying to figure out how all the bits go together and in which order things should be done was very confusing and more than a little frustrating. I found my self walking away and leaving it for days at a time. Not having a computer meant I couldn't ask for advice and I would have to work this out by myself.

I found myself thinking "This just isn't fun any more!". I had fun building the last one, the way I did the windows there was simple. As the whole point of building a doll house is to have fun I decided to just do the windows the same as before. I'll attempt the more complicated type on another one. Get back to it and have some fun.


I'm happy with the result. Of course I realised as I went that the door frame had to be in place before the bricks which meant the windows would need to go in first too but didn't get that through my thick skull until after I'd cut the bar out of the middle of each window, doh! Never mind, as I said I'm happy with the result.


I managed to get the Aussie flag in. I used modelling paste painted grey under the dowel to give the look of concrete foundations, needs more work but it's getting there.

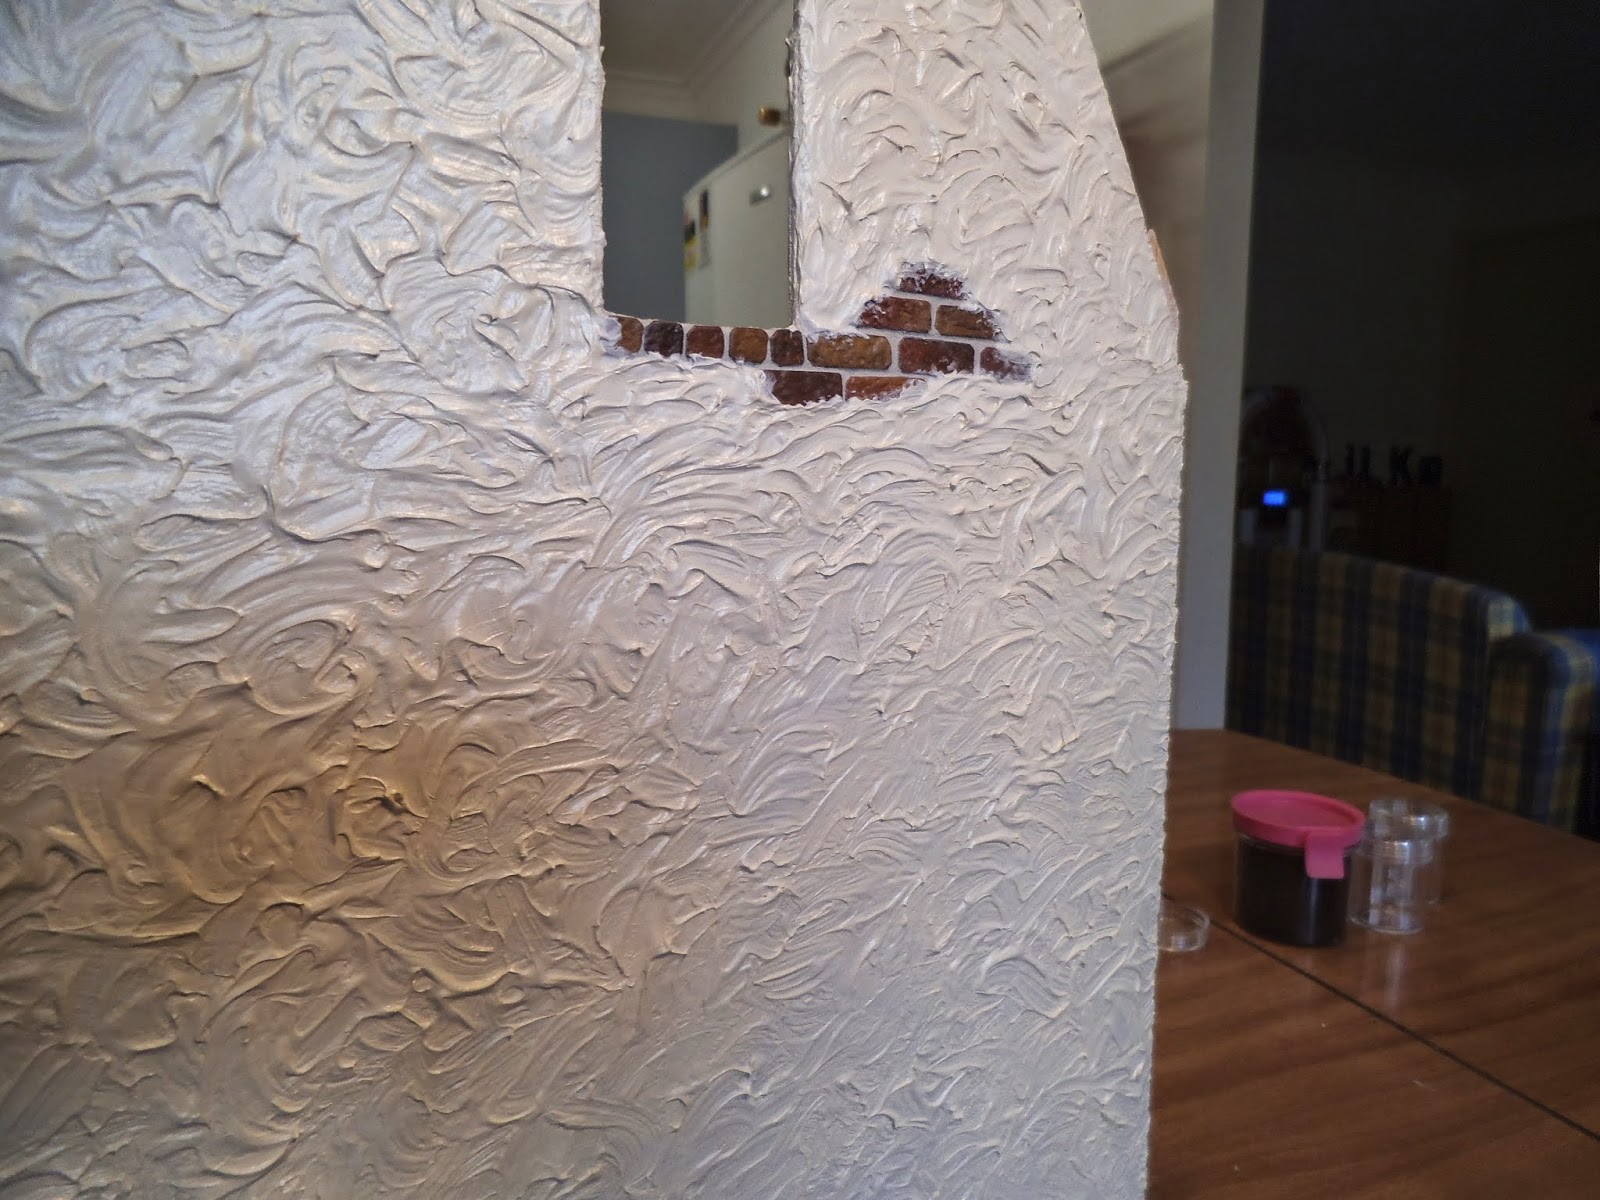
 I used the modelling paste again to create a stucco type of finish on this wall. A few "exposed" bricks to make it all look old and a bit neglected. I'll be adding an extension to this wall and most of this will be covered but I wanted to do the whole wall in case bits are visible.

Then I painted the whole thing cream. Which dried to a lovely shiny, pearl finish! Not what I wanted at all! I have started to go over it with a flat finish paint and plan on aging it quite a bit so none of that luster will show in the end (I hope).

So that's where I am at the moment. Not a lot done in the last 2 months but I'm sure that will change now that I have a brand new computer and will be able to get inspiration daily again.

 Now I'm off to see what everyone else has been up to while I've been gone. A LOT of blogs to catch up on.

Thanks for stopping by.